Prerequisites
- Node.js 18+
- Python 3.10+
- Nginx or Apache (optional)
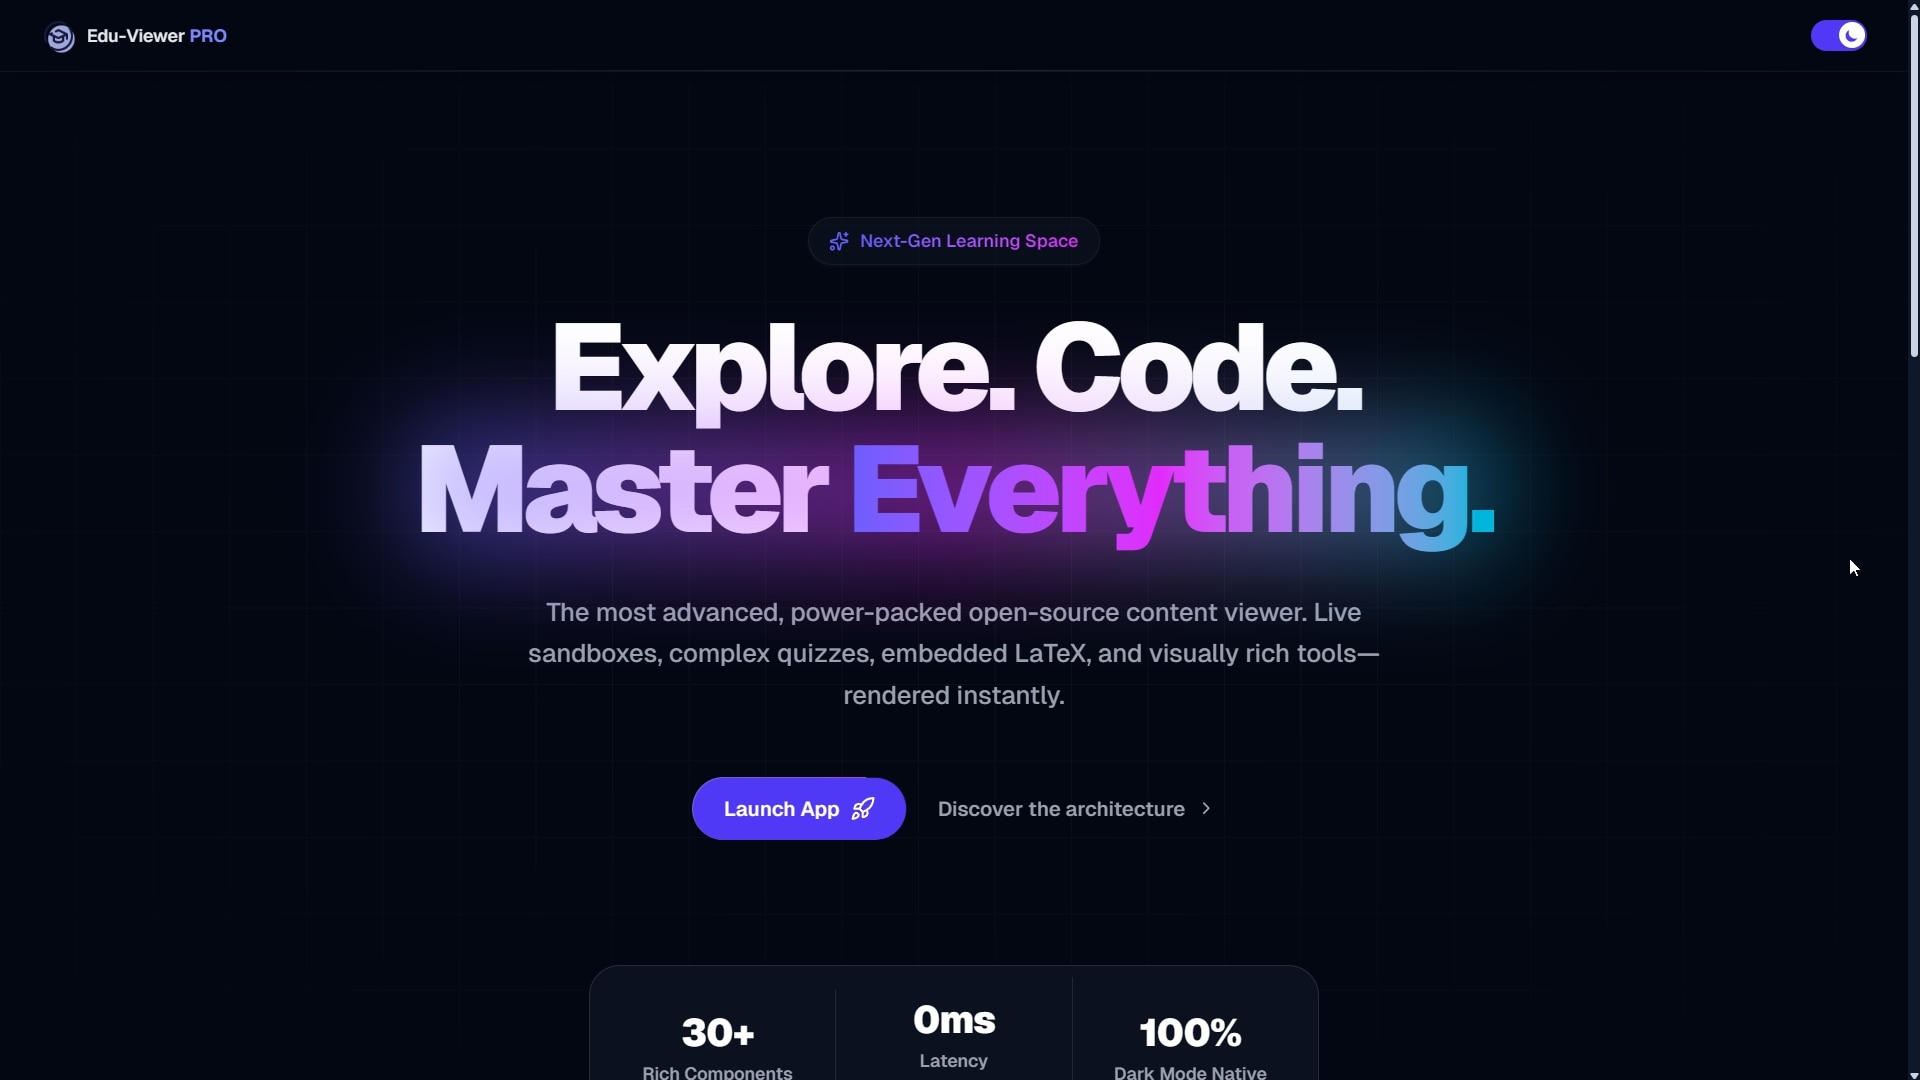
A premium offline suite for extracting, parsing, and elegantly organizing educational content. This guide shows how to run the app on your computer.
Swipe left or right to view screenshots
Architect of the Edu-Viewer interface and React ecosystem. Responsible for component logic, routing, UI/UX consistency, and core application rendering engines.
Mastermind behind the data extraction pipeline. Developed the robust scraping engine ensuring seamless content portability into structured JSON formats.
Full-stack setup workflow for educative-viewer: architecture, backend bootstrap, frontend build-and-run flow, environment variables, proxy routing, and troubleshooting.
Browser -> Nginx / Apache  (:80)
             |- /api/*  -> Flask       (:5000)   known API routes
             |- /api/*  -> local disk            static / image assets
             - /*      -> Next.js     (:3000)   everything else
Frontend
Next.js App Router
Port: 3000
Backend
Flask (Python 3.10+)
Port: 5000
Databases
SQLite with optional Oracle auth DB
Reverse Proxy
Nginx or Apache
Port: 80
educative-viewer/
|- client/                  # Next.js frontend
|- server/                  # Flask backend
|  |- backend/
|  |  |- routes/            # Auth, courses, admin, contact endpoints
|  |  |- db/                # SQLite + Oracle adapters, DB manager
|  |  |- auth_service.py    # JWT, RSA, session, 2FA logic
|  |  - config.py          # AppConfig env parsing
|  |- app.py                # Flask app entrypoint
|  - setup_and_run.py      # First-time setup helper
|- proxy/                   # Nginx and Apache config files
|- Cloudflare_Vercel.md
|- CONTRIBUTING.md
|- SECURITY.md
- README.md
Open PowerShell in the server directory and run first-time setup:
cd server

# Create and activate a virtual environment
python -m venv env
.envScriptsActivate.ps1

# Install dependencies
pip install -r requirements.txt

# Run one-time setup helper
python setup_and_run.py
What setup_and_run.py handles automatically
Subsequent backend runs:
cd server
.envScriptsActivate.ps1
python app.py
Keep this backend terminal running while frontend and proxy are active.
Open a second terminal in client and run:
cd client
npm install
node build-and-run.js
1) Full build + obfuscate + zip + create new release
2) Full build + obfuscate + zip + upload to existing release
3) Build + obfuscate + zip only (no upload)
4) Build + obfuscate + run local server
5) Build only (no obfuscation) + zip
6) Build and run local server
7) Upload existing .next.zip to existing release
8) Upload existing .next.zip as new release
9) Manage saved GitHub repos
0) Exit
For local development choose option 6. It prompts env values, builds, and serves at http://localhost:3000.
node build-and-run.js local      # prompt env -> build -> obfuscate -> start server
node build-and-run.js serve      # prompt env -> start server (needs existing .next)
node build-and-run.js build      # prompt env -> build -> obfuscate -> zip
node build-and-run.js build:only # prompt env -> build (no obfuscation) -> zip
node build-and-run.js upload     # zip -> upload to existing release
node build-and-run.js release    # zip -> create new release
node build-and-run.js download   # download .next.zip from release
| Variable | Description | Local Default |
|---|---|---|
| NEXT_PUBLIC_BACKEND_API_BASE | Base URL for Flask backend | http://localhost/ |
| NEXT_PUBLIC_STATIC_FILES_BASE | Base URL for static/image assets | http://localhost/ |
| NEXT_PUBLIC_RSA_PUBLIC_KEY | Public key printed by setup_and_run.py | Paste from backend output |
| NEXT_PUBLIC_STATIC_BASIC_AUTH | Optional Basic Auth header for static worker | Leave blank if unused |
| PROXY_SECRET | Secret for x-edu-proxy header | Not required locally |
| VERCEL_ENV | Deployment environment identifier | development |
Important: when VERCEL_ENV=production, middleware enforces x-edu-proxy == PROXY_SECRET. Use VERCEL_ENV=development for local runs.
Use this when you need one http://localhost URL that routes known backend API paths to Flask, serves static files from local disk under /api, and forwards everything else to Next.js.
nginx -t
nginx -s reload
httpd -t
httpd -k restart
1) Start backend
cd server
.\env\Scripts\Activate.ps1
python app.py

2) Start frontend
cd client
node build-and-run.js
# choose option 6

3) Start/reload proxy
nginx -s reload
# or
httpd -k restart

4) Open app
http://localhost
Always use proxy URL http://localhost instead of direct frontend URL for full API and static routing.
C:/inetpub/wwwroot/educativeviewer/api/images/logo.png
Verify static image routing with:
http://localhost/api/images/logo.png
If this URL opens the image directly, proxy static mapping is configured correctly.
API calls fail from frontend
Confirm Flask is running on 5000, frontend env uses localhost base URLs, and proxy is routing /api/* to Flask.
Frontend does not start
Use node build-and-run.js and choose option 6. To serve existing build without rebuilding, run:
Images return 404 through proxy
Confirm file exists under:
and ensure root/Alias paths match exactly.
Session expires or login redirects unexpectedly
Verify NEXT_PUBLIC_RSA_PUBLIC_KEY in client env exactly matches the public key printed by setup_and_run.py. Any mismatch can break browser-side encryption.
Port already in use
Update conflicting proxy/backend ports and the matching frontend environment values.
Setup Guide Website
Visual walkthrough for local and production setup.
educative-viewer
Latest releases for educative-viewer.
Cloudflare_Vercel.md
Edge deployment with Cloudflare Worker and Vercel.
proxy/README.md
Detailed proxy routing rules and config reference.